
So you have seen Prestashop and you want to try it out, but maybe you do not want to pay for web hosting to test it out with. No problem, I will show you how to install Prestashop locally so that you can test it out without having to spend any money.
XAMPP
XAMP is the first tool you are going to need, you can download it from here. XAMPP is a pretty sweet package for beginners, it has everything you need to get Prestashop or any other PHP based program up and running on your local system. For this tutorial I am going to be using Windows by the way. You are going to need to download the full version with the installer. As of writing the current version is 1.8.1.
Once you download it right click on the installer in your downloads folder and run it as administrator. Go through the setup process leaving all of the default settings.
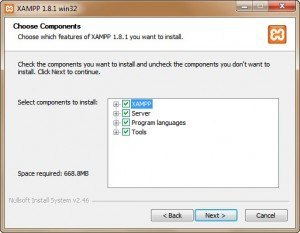
One that you get everything installed, another prompt will open asking you what to start. Close that prompt and go to the start menu and right click on XAMPP and run as administrator and you will see this screen.
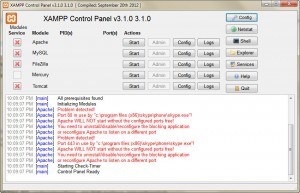
If you have a red X next to Apache or MySQL click them and they will turn into a green check mark. Also if you see the warning message in the dialog box like mine has, read it. Apache will not run if Skype is running, you will have to shut Skype down. Once you do all of that, you should be about to start both Apache and MySQL. If it successfully starts, it will look like this.
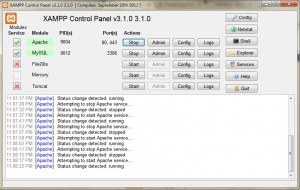
Alright now is the time to test and see if everything is working right. In your browser type localhost or 127.0.0.1 If everything worked correctly, you should see this splash screen.

If you see that screen, celebrate a little bit and then choose your language. When you do that, it will take you to the welcome screen, it should look like this.
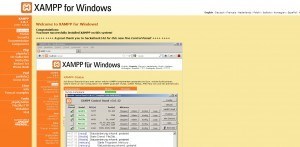
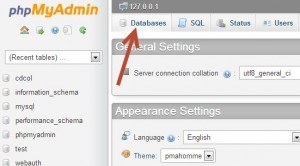
Next, go to the left menu and under tools click phpMyAdmin it will open up where you can create a database for your shop. Once the page opens, click Databases on the left, like in the picture below.
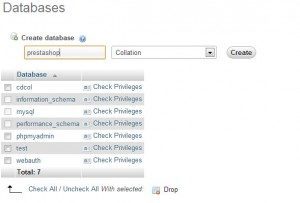
On the next screen you have to name your database, I named my prestashop, then click create.
Installing Prestashop
Now for the part that you have been waiting for, installing Prestashop. Navigate to the public folder on your computer and extract Prestashop to it. My directory is located at c:xampphtdocs. Below is what things should look like after you have copied Prestashop to the directory.
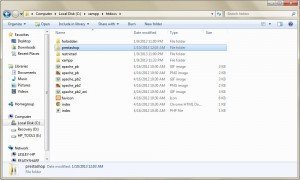
In your browser navigate to localhost/prestashop you should see the installation screen. YAY! Start going through the installation screens now. The default configuration of XAMPP should work fine with Prestashop, you should see this message.

When you get to the database settings, these are the settings that you should use. Verify the connection of the database and you should get the success message.
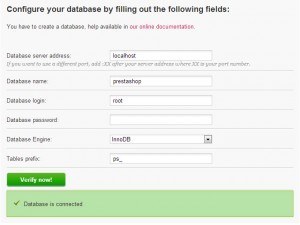
Now go through the rest of the installation process. Once Prestashop is installed, go into the directory on your computer that Prestashop is installed to. You need to delete the install folder and rename the admin folder, like in the image below.
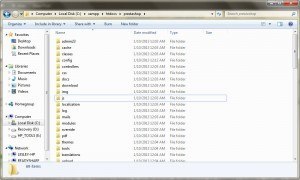
Now it is time to test it out. In your browser navigate to localhost/prestashop and start enjoying your new Prestashop installation. If you have any problems or questions about Prestashop please visit the Prestashop forum. When you get ready to move your shop to a hosted server grab a dedicated server. Happy selling!
About the Author: Lesley Paone
Lesley has worked in e-commerce for over a decade, and is the founder of dh42. Starting out with PrestaShop and brancing out into other platforms like Shopify. He loves all things e-commerce and loves a challenge, in his spare time he helps moderate several forums on SEO, e-commerce, as well as the PrestaShop forum. If you have any questions for him about any of his articles just use our contact form to contact him.
